Initial Set-up of WordPress plug-in for translation
A guide to using the WordPress plug-in for translation.
Table of Contents
- Introduction
- Installation
- Initial Set-up
- Using the Plug-in
- Languages
- Translation Management
- Translation Dashboard
- Translators
- Translation Jobs
- Multilingual Content Set-up
- Translation Notifications
- Theme and Plug-in Localization
- WP Menus Sync
- String Translation
- Translations
- Taxonomy Translation
- Deleting Pseudo-translations
Initial Set-up: WordPress Plug-in for translation
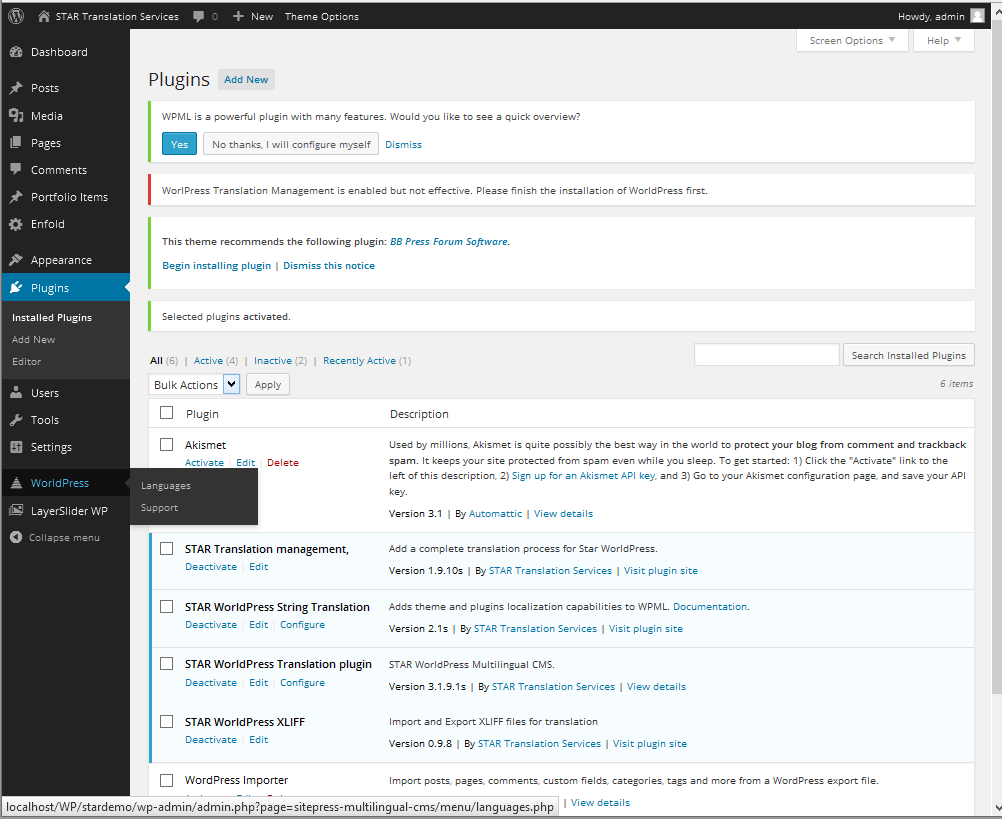
After activating the plug-ins, you will need to go through the set-up wizard.
This can be accessed by selecting the item WPML from the main menu.
Follow the process outlined in the screenshots below.
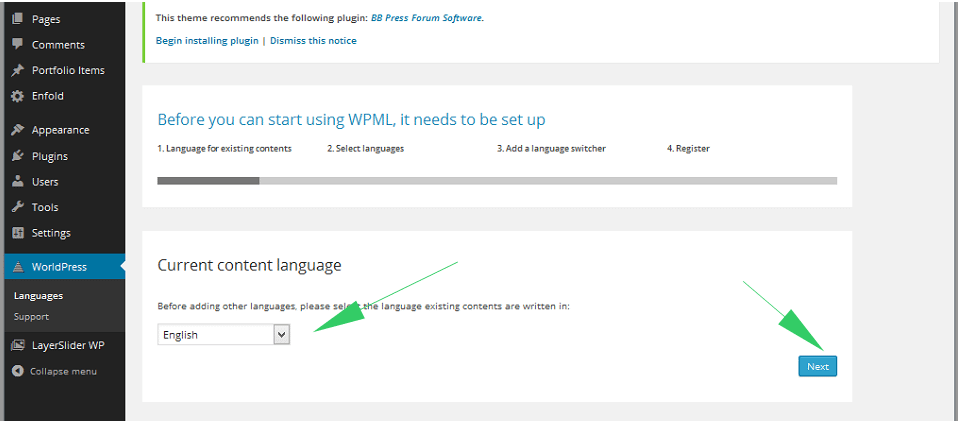
WordPress Plug-in Set-up
Choose the initial language
Select the language from the drop-down menu and click Next.
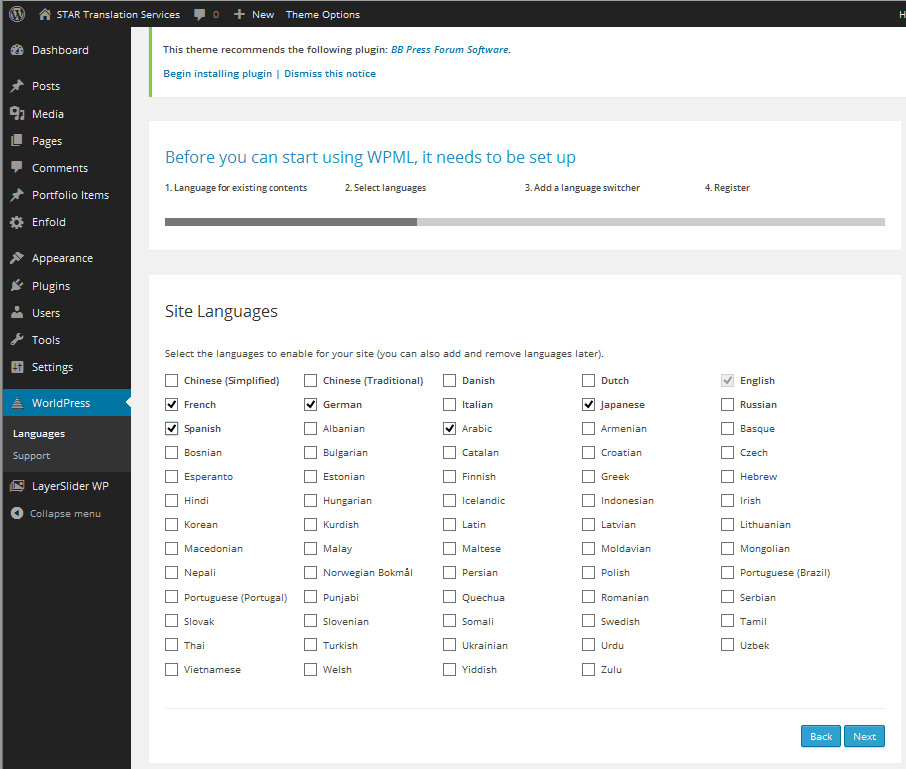
Languages Option
Pick the languages your site will be translated into.
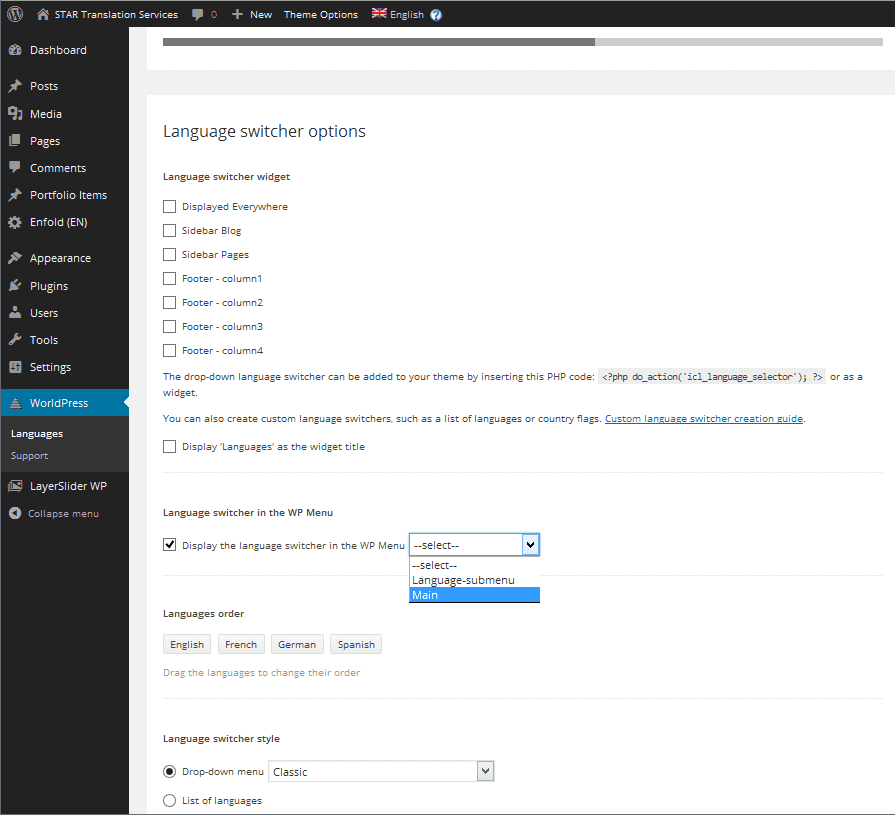
The Languages Switcher
Choose where the language switcher menu will appear.
You can have the language selection as part of a WordPress menu or as a widget displayed in a specified block on your pages. You can change these settings at any time by selecting the Languages menu in WordPress.
Other options include customizing the behaviour when a translation is not available.